
Introduction
Spark Mini Interface is an effective tool to help musicians, audio engineers, and artists improve their recording and performing process. It doesn’t matter if you want to explore the realm of music production or are a professional who wants to upgrade your sound setup. The Spark Mini Interface offers impressive capabilities at a reasonable price. This tutorial will guide you through everything you’ll need to learn about Spark Mini. Spark Mini includes its most essential functions, how to set it up, and the best way to get the most out of it.
What is Spark Mini Interface?
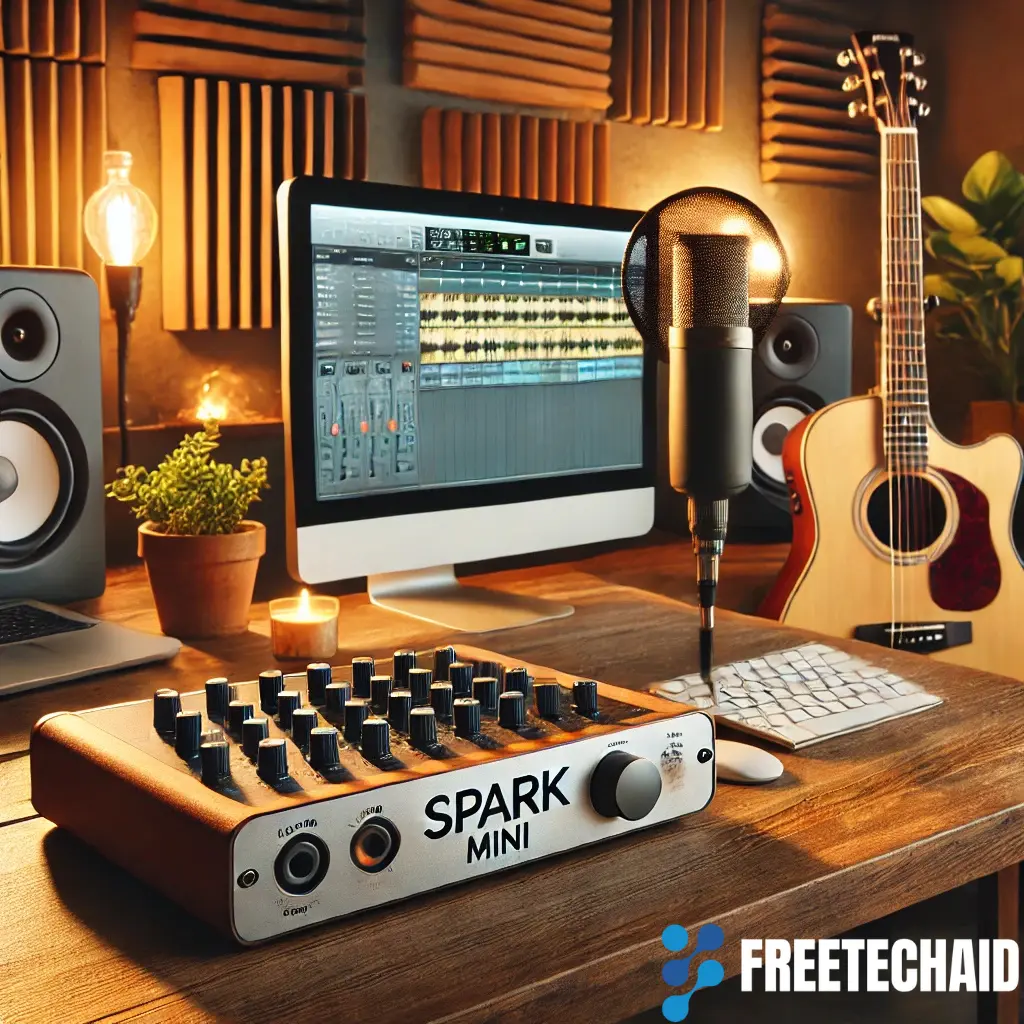
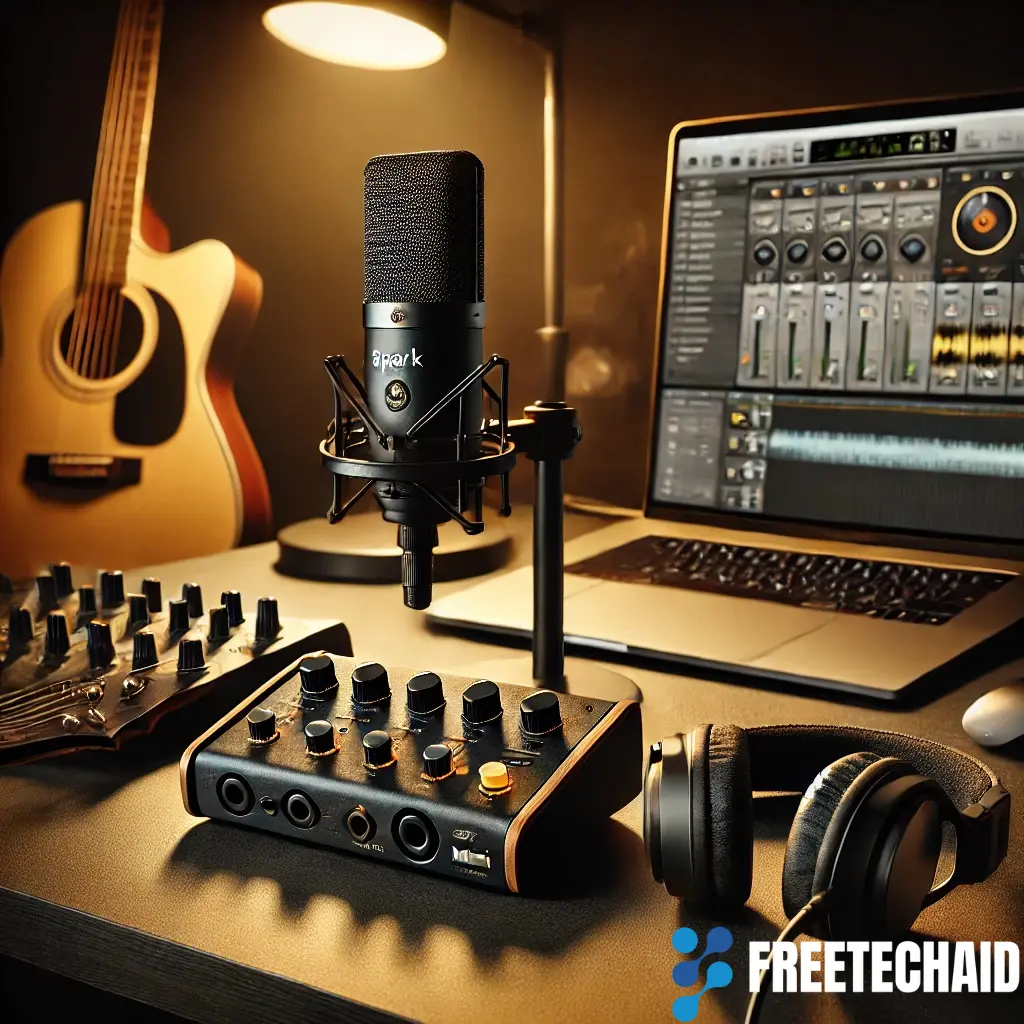
Spark Mini Interface is a tiny audio interface created to meet the demands of users seeking quality sound recordings without the weight and complexity of more prominent interfaces. It can connect your instrument and microphone to your recording device. It allows the sound to be recorded professionally and with clarity. Although small, its Spark Mini offers a variety of features that will appeal to beginner and professional musicians.
Principal Features of the Spark Mini Interface
Compact with Portable Design
One of the most notable characteristics unique to Spark Mini Interface is its mobility. It’s built to be light and compact, making it perfect for traveling musicians. Spark Mini Interface is an excellent choice for recording in a studio or live. Mini Interface is a great choice. Mini Interface can quickly move around without taking too much room.
Hi-Quality Audio
Spark Mini Interface doesn’t compromise on audio quality. It is equipped with a high-definition audio converter and amplification, guaranteeing that every note or audio you record is precise and crystal-clear. It supports 24-bit/192kHz audio resolution. It makes it perfect for professional recordings.
USB Connectivity
The connection to the Spark Mini Interface to your system is a snap because of its USB interface. You don’t need extra drivers or complex setup processes. Just plug it in, and it’s ready to record. The plug-and-play feature makes it extremely easy for novices and experienced users.
Microphone and Instrument Inputs
Its Spark Mini Interface has numerous inputs, enabling users to connect various sources. If you’re looking to connect an electric guitar mi, microphone, or any other musical instruments, The Spark Mini Interface has you equipped with various inputs.
Low-Latency Monitoring
By monitoring in real-time With real-time monitoring, the Spark Mini Interface reduces latency and is ideal for live performance or recording sessions in which timing is crucial. It is beneficial for musicians that rely on live feedback while they record.
Built-in Preamp
Spark Mini Interface Spark Mini Interface features a built-in preamp that amplifies the sound of microphones and low-output instruments to ensure the recordings have clear professional audio.
Configuring for the Spark Mini Interface
The process of setting up Spark Mini Interface is easy. Spark Mini Interface is easy, making it ideal for a simple setup. This step-by-step tutorial will assist you in getting started.
Unbox Your Spark Mini Interface
Start by unpacking the Mini Interface and checking the required components, like the USB cable and the input jack, are present.
Connect the interface to your PC
Connect the Interface of the Spark Mini to an accessible USB connector on your PC. Modern operating systems detect the device by default; however, ensure you’ve got the most recent drivers if required.
Install All the Software You Need
Based on the model of the Spark Mini interface you have bought, if you need to download software or drivers for maximum performance. Visit the manufacturer’s website to download the latest versions.
Connect Your Audio Equipment
Connect your audio device after the Spark Mini Interface is plugged into your PC. Connecting to an electric guitar, a mic, keyboard, or other audio source you want to record is possible. You must connect the device to the appropriate source port to avoid any problems with the signal.
Set Up The Recording Software
Launch your computer with a digital audio program (DAW) like Ableton Live, Logic Pro, and Pro Tools. Choose the Spark Mini Interface on the settings or preferences menu as your input and output device. It makes sure that your DAW recognizes the interface for playback and recording.
Check and Adjust the Levels
Before beginning recording, check the level of your audio inputs to ensure they’re at the right level. Spark Mini Interface comes with volume controls, allowing users to alter the sound intensity and ensuring it’s not excessively high (which could create distortion) or too muted.
The Best Uses of Spark Mini Interface
If you know how to configure the Spark Mini Interface, let’s examine some of the top methods of using the device. The Spark Mini can be a flexible tool that can be used in many different applications.
Music Production
For musicians, music producers, or composers, you’ll find that the Spark Mini is an indispensable tool for recording your thoughts. It ensures top-quality audio recording when recording vocals, drums, guitar, or other instruments. Its low-latency monitor and preamp functions allow you to edit your recordings effortlessly.
Podcasting and voiceovers
for voiceover and podcast creators, voiceover artists, and podcasters, the Spark Mini offers clear-quality audio to create spoken-word content. With a built-in amp, the minor vocal details are precisely recorded and ideal for high-quality audio recordings.
Live Performers
Spark Mini can also be utilized for live sound systems. Its simple setup and real-time monitoring allow connecting microphones, instruments, and the backing track to your live performance system.
Home Studios
The Spark Mini offers professional-grade audio in a compact and affordable device for producers or musicians who work from a home studio for home studios. It lets you record directly to your DAW cre, add layers, and create your music without purchasing expensive equipment.
Film Production
The video creators usually require high-quality audio that matches the footage. Spark Mini can record audio in video productions, ensuring that the soundtrack you record or your dialogue is professional and transparent.
Troubleshooting Common Problems Spark Mini Interface
Even though Spark Mini was designed to be user-friendly, some users might encounter problems. Below are some suggestions for troubleshooting:
- Incomplete Sound Output: Check that the Spark Mini is selected as the output device within the DAW or system settings. Verify the physical connections to confirm all is appropriately connected.
- Dispersion or poor Sound Quality: Adjust the input volume to stop distortion or clipping. Also, examine your instrument or microphone settings to ensure they’re compatible with the input.
- Driver issues: If your device does not recognize the interface, check the manufacturer’s website for up-to-date drivers and software.
Conclusion
Spark Mini Interface can be an excellent alternative for those looking to improve their audio equipment without spending much money. Its high-quality audio, ease of use, and simple design can be used for various applications, from podcasting to audio production and live streaming. With this step-by-step tutorial on configuring and utilizing this Spark Mini Interface, without any doubt, you’ll find that the recorded sound looks more professional than the one you recorded prior. Use features and experiments to adjust your settings for the most optimal results. When you record at home or traveling, this Spark Mini is an effective tool that can improve the quality of your recordings.